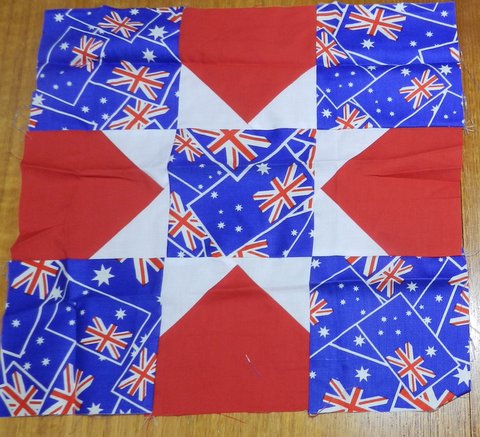
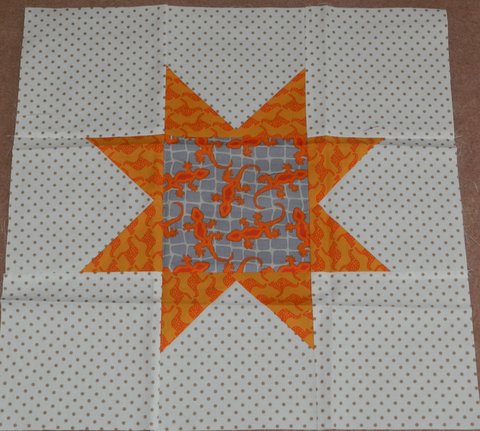
Hi All
I know this is a day early but I thought we would give you a head start on the Blocks of the Month for April. Thanks again to Sandy for her efforts in keeping the Blocks coming each month this year!>
Please use a strong red and a rich dark/medium blue. The red and blue fabrics can be tone-on-tone prints or have prints including other colours but should be obviously red and blue backgrounds. If you make more than one block, different fabrics can be used for each block.
These blocks can be assembled many different ways and create very exciting quilts. There are some examples at the end of the instructions to inspire you as you make these blocks.
Note - 1/4 inch seam allowances please
Cut strip of each fabric 15 inch long x 3.25 inch wide
Place right sides together and sew 1/4 inch seam then press both seam allowances to one side
Cut 4 pieces from the strip each 3.25 inch wide
Make 2 squares - assemble as shown above and place 2 pieces with right sides together then sew with 1/4 inch seam. The seam allowances should go in opposite directions and "lock" the seams together
Choose one of the following methods to make the above 2 squares...
METHOD 1
Cut a square of red fabric 6 3/8 inch x 6 3/8 inch then cut diagonally to make 2 red triangles
Cut a square of blue fabric 6 3/8 inch x 6 3/8 inch then cut diagonally to make 2 blue triangles
Place a red triangle and a blue triangle together with right sides of fabric "inside"
Sew 1/4 inch seam along the diagonal side of the half square triangle (the longest side)
Press seam open or to one side while taking care not to stretch the shape into a "kite"
METHOD 2

Cut a square of red fabric 6 3/8 inch x 6 3/8 inch
Cut a square of blue fabric 6 3/8 inch x 6 3/8 inch
Place the 2 squares with right sides together and pin around the outside edges
Draw a diagonal line that can be seen well
To sew a seam, place 1/4 inch patchwork foot along the drawn line and stitch seam 1/4 inch from the drawn line.
Turn the square around and stitch along the other side of the drawn line. There will be a 1/2 inch space between the seam lines.
Cut along the drawn line then open out the squares and press seams open or to one side while taking care not to stretch the shape into a "kite"
Assemble the block as shown above and sew 2 squares together then press seams toward the little squares section. Repeat for the other 2 squares.
Lastly, sew the 2 rectangular sections together and press the seams to one side or open
Thank you SO much for kindly making blocks for our Aussie Heroes
Information for those sewing the blocks together to make the quilt tops...
Blocks should 11 x 11 inch when sewn together and with seam allowances should be 11.5 x 11.5 inch
4 x 7 blocks = 28 blocks per quilt top
Finished quilt top 44 x 77 inch
Please post all completed blocks to
Caroline Gunn
PO Box 3079
St Mary's South NSW 2760
Please post all completed blocks to
Caroline Gunn
PO Box 3079
St Mary's South NSW 2760
This beautiful traditional block can be assembled in so many ways. Here are a few suggestions...
Thanks again Sandy.
Looking forward to seeing these blocks coming in and seeing the resulting quilts!
Till next time................keep spreading the word and happy stitcing!
Jan-Maree xx
A PDF version of this tutorial is available, by clicking HERE


